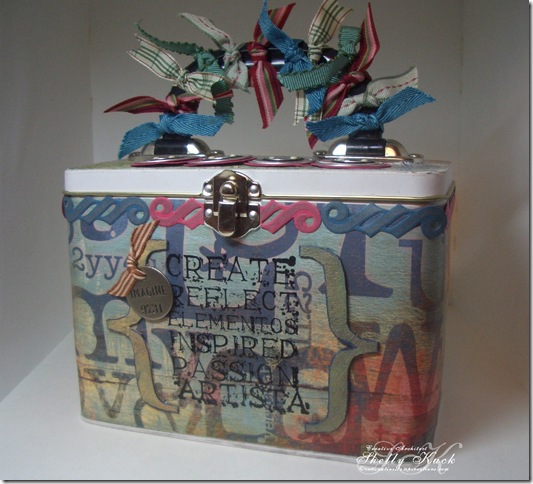
Last week, I showed you how I store my embossing folders. This week is Die Cuts. I store my file cards in a tin lunch box similar to the altered one for my folders I showed you last week. Click on #7 below if you want to see the embossing folder box.
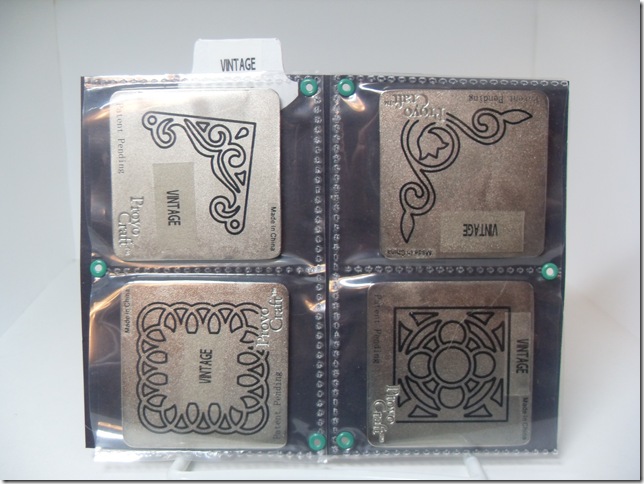
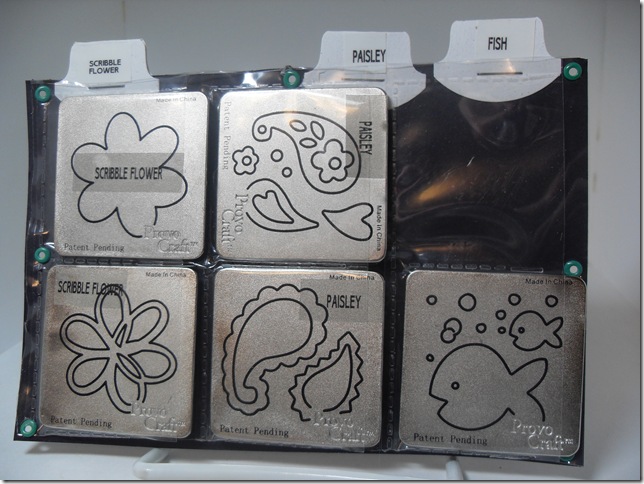
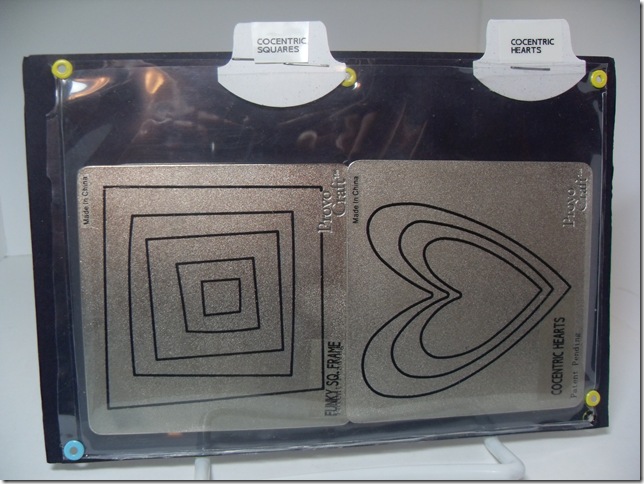
Nothing Fancy here, just some black cardstock and slide sized page protectors cut up and eyleted to the CS with the opening's to the outside edges. Like my embossing folders, all dies are labeled with the name for easy reference. (oops, I see I missed a label on Fish)
Same as above, but with 6 per sheet.
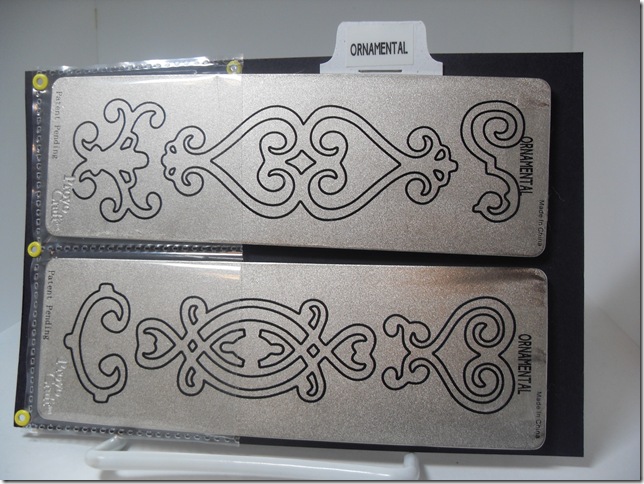
My long die sets are in business card sized page protectors. They just slide in on the left end and stay in place nicely.
larger dies worked out perfectly in a portion of a offset scrapbook page protector that I cut apart.
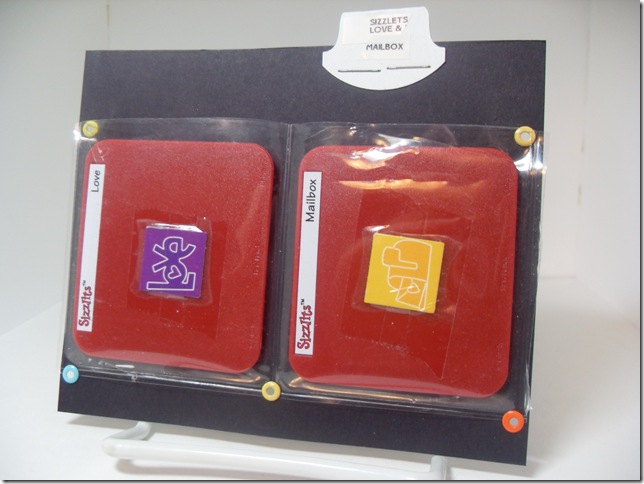
Sizzlets are in cut up baseball/ATC size page protectors.
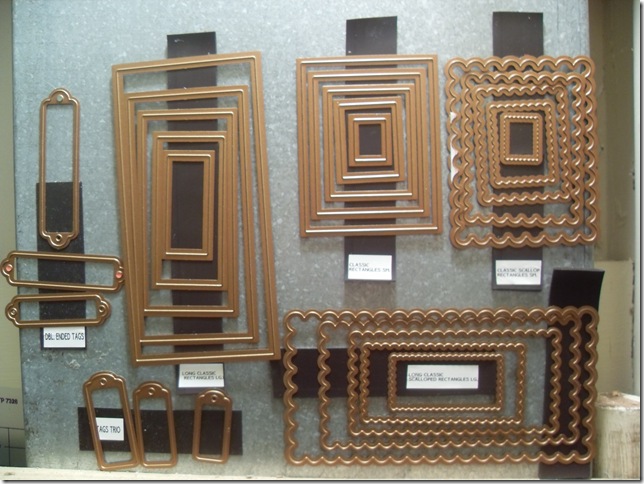
I can't take credit for my Spellbinder die storage. It was on somebody elses blog a while back and I can't remember whose. One of the walk in closets in my stamp room has a heating duct in it so I just added strips of adhesive backed magnets and put the dies up in sets. They are labeled so I know the set names. I have more nesties coming, so the duct is going to get fuller soon. You have seen how I store my dies, now it's your turn to find a system & make it work for you.
For past Make it work Wednesday editions, follow these links:
#1 Ribbon & lots more (Clip it Up!)
#4 Punches & Wood Mounted Stamps
#7 Cuttlebug Embossing Folders
Have a great Wednesday and remember, MAKE IT WORK!



No comments:
Post a Comment
Thanks for stopping & telling me what you think!