 Arrrrrrr ye mateys, it be a Tuesday and ya know what that means. It’s
 back to school day FINALLY Treasure Hunt Tuesday at
Rubbernecker Stamp Company. Put yer swashbuckling skills to the test  and plunder all the treasure that be waitin’ fer ya. Set sail along with me mates and join us fer the first clue.
Sherry is offering Blog Candy today. Be sure to leave a comment on her blog for a chance to win $10 in Rubbernecker Bucks.
 After ye stops there, head on over to Rubbernecker where ye will find the first clue and more deets on how ya may claim ye bounty!
  While ye are sailing around today, make sure ye stop and visit the rest of me mates, Linda, Broni, Jules, Candy, Tami, Kittie & Bev.
Here's a couple projects using Rubbernecker images.
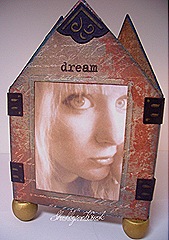
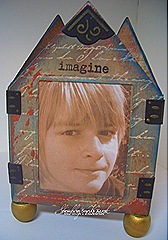
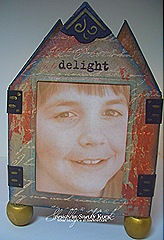
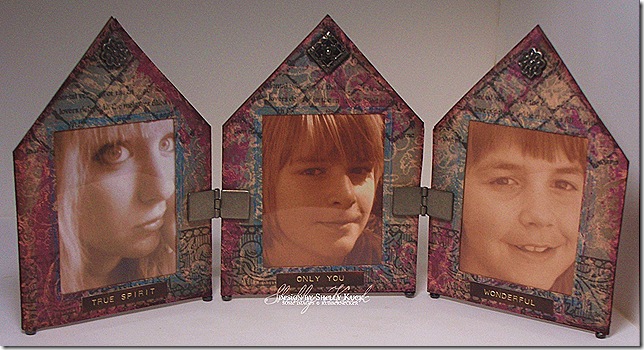
I made this for my hubby to put on his desk at work and liked it so much, I made a different version for my own desk.
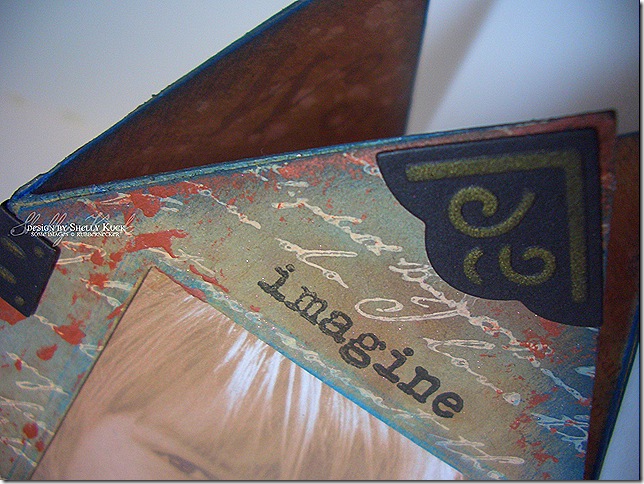
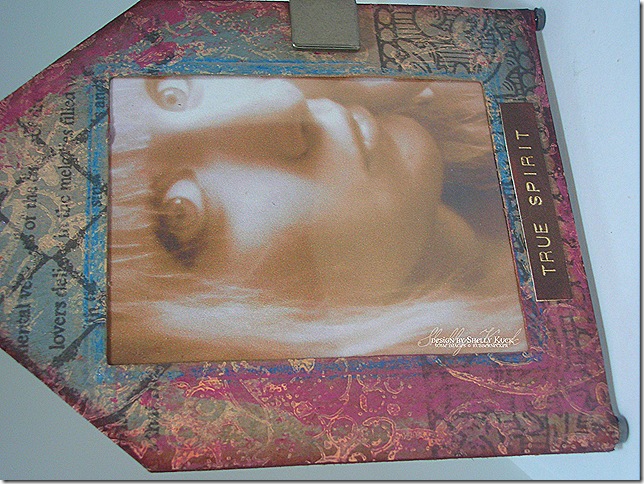
The backgrounds were created on Kraft CS using a Pearlized Distress Mist/Acrylic Resist technique with encaustic wax finish.
I don't usually show personal photos here, but today I am. The 3 sides of the frame have photos of Marissa 15, Alex 13 Oct. 13 (Friday the 13th baby)
and Mason 11 1/2. (can't forget the 1/2 at that age ya know)
Supplies Triangle Frame:
Stamps: Rubbernecker Stamp Co. How do I love thee (dream/imagine/delight Impression Obsession)
Ink: Walnut Stain, Faded Jeans & Tattered Rose Distress reinkers. Encore Gold, Faded Jeans distress pad, Adirondack pigment pitch black
Papers: Kraft for frame fronts, Black for die cuts. Heavy cereal board for the backing, Scraperdashery Wordsworth DP for frame backs.
Accessories: Adirondack Paint Dabber Sandal, Mini Misters, Perfect pearls, Spellbinders classic rectangle sm. (2nd to largest) Spellbinders shapeabilities Hdwe. Hinges set. Wooden Ball feet, Window Sheets, Metallic Crayon, Heat Tool, Metal artist spatula
This frame was left open ended
Each front panel (Kraft CS) and back panels (heavy weight cereal box cardboard) were cut to 3 1/2" x 5" and then I measured across the top and marked the middle at 1 3/4" and then down each side 2" and cut at diagonals to create the tag shape.
Supplies for Long Tri Frame:
Stamps: Rubbernecker Stamp Co. Baroque Background 1230 SO, Word Diamonds 1523 SO & Striplet 144-04 RN
Ink: Walnut Stain, Faded Jeans & Tattered Rose Distress reinkers. Faded Jeans & Aged Mahogany distress pads, Versafine Smokey Gray
Papers: Kraft for frame fronts, heavy cereal board for the backing, Hot off the Press DP for frame backs.
Accessories: Adirondack Paint Dabber Sandal, Mini Misters, Perfect pearls, Spellbinders classic rectangle sm. (2nd to largest) Faux Dymo label words My Minds Eye, Window Sheets, Metallic Crayon, Heat Tool, Metal artist spatula, Tim Holtz long Fastener Brads for feet, Making Memories Photo Flips hinge fasteners, Making Memories decorative brads
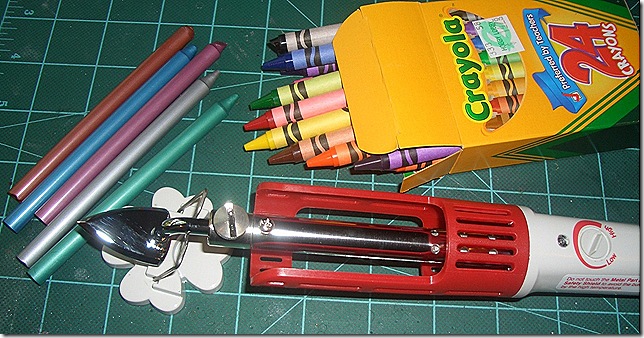
Wanna see my new toy? It all started when I bought a Collage Discovery Workshop book by Claudine Hellmuth. She uses so many neat mediums on her creations. One thing I experimented with on the frames above is encaustic wax. After finishing my projects by heating a metal painters palette with my heat gun and melting crayons on it before smearing it on my project I knew I needed a quilters iron. Good thing Hobby Lobby has a 40% off coupon this week! The iron comes with a standard tip, but you can purchase additional sizes. It has variable heat settings and gets nice and hot! Off to experiment with it some more.





What a great craft project Shelly! those frames are terrific - love how you decorated them!
ReplyDeleteWhat a great craft project Shelly! those frames are terrific - love how you decorated them!
ReplyDeleteBeautiful frames to show off those good lookin' kids!
ReplyDeleteIt's funny that I was just looking at that same book yesterday and the encaustic part intriqued me. Expecting to see wonderful, waxy stuff from you!!!
Wow, Shelly!
ReplyDeleteThis project is award-winning for sure!
Okay--sitting her looking like a total IDIOT--with my mouth hanging open!!!!!!
ReplyDeleteWOW!!!
These are incredible!!
I can't belive you are parting with a set to send with Larry!! LUCKY guy! I love both sets!!
INCREDIBLE WORK!!
WOW Shelly this is amazing. I want more info on the heat tool!! please
ReplyDeleteWow what a awesome project Shelly, beautifully done!!
ReplyDeleteThis is gorgeous Shelly! I bought that book, too, but have been too chicken to try anything like this yet! :-0 You just made me a little braver...
ReplyDeleteGood grief this is amazing. I love these frames and the images are a perfect complement!
ReplyDeleteThis is wonderful project!! TFS
ReplyDeleteWhat an awesome project, Shelly! I wish I had your creativity for those things! (cute kids, too!) :)
ReplyDeleteI am soooo behind on commenting but I had to say that this project is terrific. I love how you used the colors ?crayons? on this one. Beautiful colors, textures, and accents. What terrific photos of your children. I love how closeup they are (great view point instead of the regular "school photo type" shot). Thanks for sharing them with us. :) Kel
ReplyDelete